Kubernetes CPU Throttling: What it is, and Best Practices
Learn to manage CPU resources in Kubernetes to ensure smooth workloads, optimize performance, make strategic CPU choices, and monitor CPU throttling.
.jpeg)
Picture this: You're happily driving along in your car when you suddenly start slowing down for no discernible reason. Even if you press the petal closer to the floor, you continue to decelerate. You're being throttled by a force beyond your control.
That doesn't actually happen with cars. But it does happen in Kubernetes, due to a process called CPU throttling. By restricting the amount of CPU available to containers, throttling slows them down.
CPU throttling happens in order to prevent the system from crashing due to exhaustion of CPU resources. But it can also negatively impact performance – which is why it's important to understand how to manage these resources in Kubernetes in ways that keep workloads running smoothly, without unexpected throttling events.
What is Kubernetes CPU throttling?
In Kubernetes, CPU throttling is the implementation of restrictions on how many CPU resources a container can consume. CPU throttling typically happens automatically when the amount of resources that a container is using approaches the maximum available to it. In that case, the system throttles CPU to avoid a crash.
In general, CPU throttling is not desirable. It slows down the performance of workloads because it reduces the amount of CPU available to them. This is better than having your system crash entirely due to inadequate CPU, but it's still a situation that you would ideally avoid by never running out of sufficient CPU.
Kubernetes won't actually shut down containers when CPU resources become constrained. It just throttles CPU to slow things down. This is notable because it's different from the way memory constraints are handled. Those can lead to forced workload shutdowns and Kubernetes OOMKilled errors.
To understand fully what CPU throttling means and how it works, let's dive a bit deeper into how Kubernetes manages CPUs, and what can happen when a cluster runs low on available CPU.
The basics of CPU processing in Kubernetes
CPU refers to compute resources – meaning the part of a computer or server that can perform logic and run code. CPU is one of several resources (the other main ones being memory and persistent storage) that most workloads require to run.
.svg)
Kubernetes measures CPU resources in terms of units. As the K8s documentation explains, one CPU unit is equivalent to a virtual CPU core (if you're running your cluster on cloud servers) or one hyperthread on a bare-metal processor. Thus, the total CPU available to a cluster will depend on how many virtual or physical CPU cores are available from the nodes within the cluster.
Unless you tell it to do otherwise by configuring requests and CPU limits, which we'll explain below, Kubernetes defaults to trying to share available CPU among all workloads within a cluster. To do this, Kubernetes creates a pool of CPU units for each node, and then shares them dynamically with Pods running on that node. This results in what's known in Kubernetes jargon as a BestEffort Quality of Service (QoS) class. (We'll say more about QoS classes later in this article.)
CPU overcommitment and lack of availability
As long as your nodes have enough available CPU units to support the Pods they are hosting, everything's great. But if your Pods require more CPU than is available, workload performance may degrade.
Running out of available CPU can happen in one of two ways:
- The amount of CPU that a Pod actually requires to function at a normal level exceeds the CPU available on the host node. This typically happens when you simply don't have enough total nodes to support all of your Pods, or when you use a DaemonSet to assign a Pod to a node that doesn't have sufficient CPU available to support the Pod.
- Using a request (which, again, we'll discuss in more detail in a bit), you've configured a container or Pod to receive more CPU units than are available. This causes what's known as CPU overcommitment because you've committed your workloads to using more CPUs than actually exist. Even if the workloads don't actually require all of the CPU capacity you've assigned to them, overcommitment can cause issues because it reduces the CPUs available to other workloads.
Neither of these situations is desirable – which is why carefully managing CPU resources via throttling is important for avoiding potential performance issues in Kubernetes.
How requests and CPU limits work in Kubernetes
The main way to avoid overusing or overcommitting CPUs in Kubernetes is to set appropriate Kubernetes limits and requests. (This assumes, of course, that you have enough total CPU capacity in your cluster. If you don't, you'll need to add some nodes, or scale up the CPU assigned to existing nodes if possible.)
CPU limits and requests are Kubernetes features that work as follows:
- CPU limits specify the maximum resource of a given type that a workload can consume.
- CPU requests are the minimum resource of a given type that Kubernetes should assign to a workload.
Thus, by setting a request that provides sufficient CPU to your workloads, while also setting a CPU limit that prevents them from tying up so many CPU units that other workloads run out of enough CPU, you can avoid CPU throttling and the performance issues that come with it.
.svg)
The main types of resources that you can manage using limits and requests are CPU, memory, and hugepages (a type of memory unit on Linux).
You can assign limits and requests on a per-container or per-namespace basis. If you assign them to a container, they apply only to that specific container. If you assign them to a namespace, they apply to all containers hosted within that namespace.
You can't directly set a CPU limit or request for a Pod, but you can set limits and requests for all of the containers inside a Pod – which is what you'd have to do if you wanted to configure a minimum or maximum amount of CPU to be available to a Pod.
Expert Tip: Avoid CPU Limits for Latency-Sensitive Workloads

Noam Levy is a founding engineer at groundcover. Over the last 10 years, Noam has been a part of and led development teams focused on microservices-oriented web applications, monitoring complex application pipelines, and system engineering.
CPU throttling in Kubernetes is almost always caused by overly restrictive CPU limits rather than actual CPU exhaustion.
- Use requests without limits for critical services to prevent CFS throttling during traffic spikes.
- Right-size CPU requests using real usage data, not guesses from development environments.
- Watch throttling metrics (container_cpu_cfs_throttled_seconds_total), not just CPU utilization.
In many production clusters, removing CPU limits from latency-sensitive services significantly reduces tail latency and unexpected throttling.
How to assign CPU resources to containers and Pods
To mitigate the risk of CPU throttling, you'll want to set CPU limits and requests that avoid the following conditions:
- CPU requests are so high that they tie up CPU that other workloads need. For example, if you assign 8 CPUs to one container while only having 16 CPUs available in total, and you’re running a dozen containers, the one container with the 8 requests might end up hogging CPU, with the result that the other containers will experience throttling.
- CPU requests that are higher than the actual CPU available. For instance, you don't want to assign 4 CPU units to a container if its host node only has 2 CPU cores. This leads to CPU overcommitment.
- CPU limits that are too low to meet the requirements of a workload. An excessively low CPU limit won't result in throttling, but it may cause performance issues because your workload won't have enough CPU.
To set CPU limits and requests, simply define the desired values when writing the spec for a container or namespace. For example:
spec:
 containers:
 - name: some-container
   image: some-image
   resources:
     limits:
       cpu: "4"
     requests:
       cpu: "2"
This sets a CPU limit of 4 units and a request of 2 for the container named some-container.
As we mentioned above, you can't explicitly set requests or limits for entire Pods. You instead need to set requests and limits for each container within a Pod.
How to monitor Kubernetes CPU throttling
Kubernetes doesn't notify you when CPU throttling happens. Nor does it provide native tooling to detect throttling events. There is no kubectl command you can run to check whether any containers are experiencing CPU throttling, for instance.
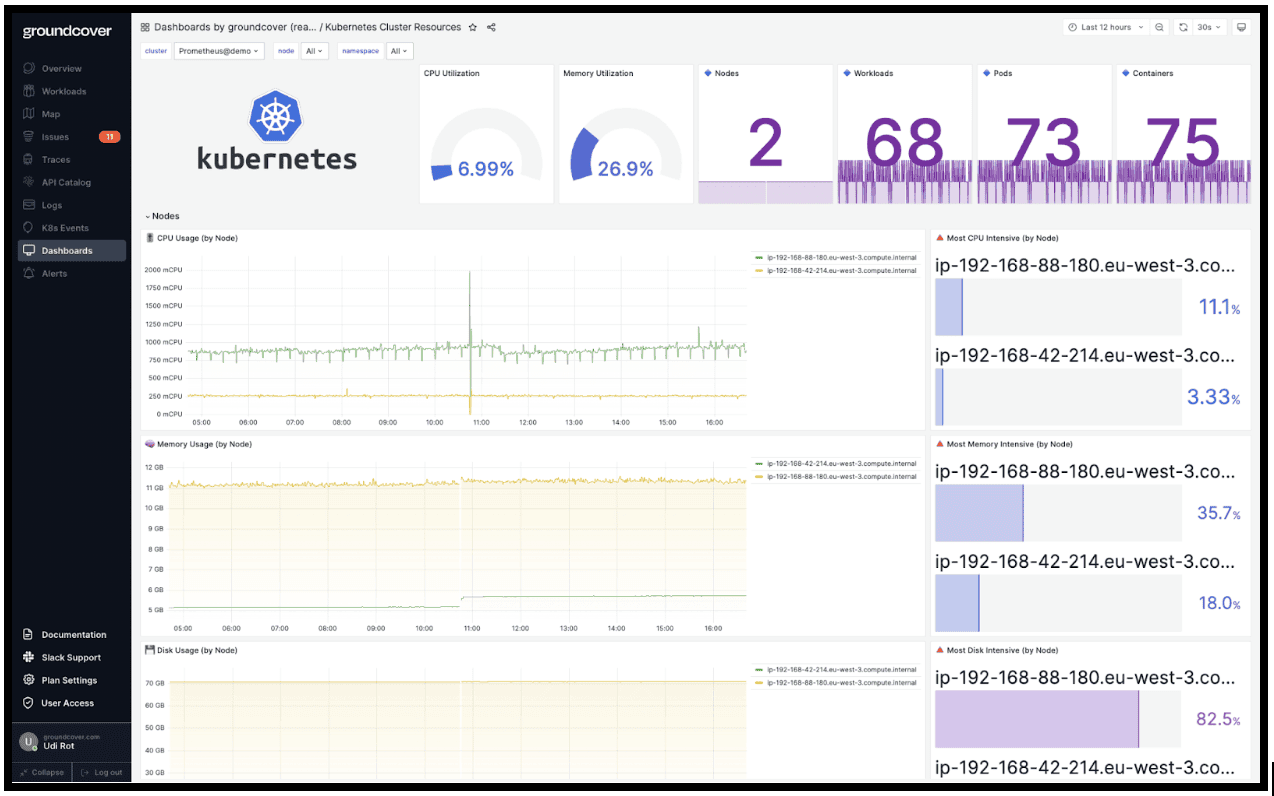
This means that the best way to monitor CPU throttling in Kubernetes is using a third-party Kubernetes monitoring tool that reports CPU throttling metrics. For instance, you can monitor container CPU throttling using Grafana.
You can also gain some sense of when CPU throttling might be occurring by monitoring other data that Kubernetes does report natively. For example, the kubectl top command will display data about CPU utilization, among other resources. It won't tell you whether throttling is happening, but if CPU usage is near 100 percent for an extended period, it's likely that throttling is happening.
Troubleshooting CPU throttling in Kubernetes
CPU throttling troubleshooting
If you detect CPU throttling, work through the following steps to troubleshoot the issue:
- Check total node CPU availability. If you simply don't have enough CPUs to support your workloads, you'll need to add nodes.
- Check per-node CPU availability. If you notice that some nodes have CPU to spare while others are running short, you may need to move Pods to different nodes. Make sure you don't have DaemonSets or other settings configured that force Pods to run on nodes that are not a good fit for them.
- Check requests and limits. As we've explained, look for configurations that tie up CPUs on some workloads while depriving others of sufficient resources.
- Configure more requests and limits: In the case that you haven't configured requests and limits for all of your workloads, taking the time to do so may improve the efficiency of CPU usage.
- Monitor long-term CPU trends. Knowing how your cluster consumes CPU over time, and how frequently CPU utilization approaches 100 percent, will help you determine how much spare CPU capacity your cluster needs to run smoothly. It will also provide insight into how best to balance CPU assignment across workloads.
Kubernetes CPU throttling best practices
The following best practices can help reduce the risk of running into CPU throttling issues in the first place.
Set requests and limits across your cluster
Again, requests and limits are your primary line of defense against CPU throttling. Unless you have so much spare CPU capacity in your cluster that running low on CPU is unimaginable, setting appropriate requests and limits will help ensure that CPU is shared efficiently across workloads.
Consider workload priority when setting requests and limits
Some workloads may be more important than others. Requests and limits should reflect this by ensuring that critical workloads receive priority during CPU assignment.
For instance, if you have a dev/test namespace in your cluster, it may make sense to set a relatively low CPU limit and request for that namespace. Throttling for dev/test workloads is probably not as serious as the throttling of production workloads.
Configure Quality of Service classes
Quality of Service (QoS) classes are another way to prioritize some workloads over others. You can configure three classes:
- Guaranteed, which tells Kubernetes to respect resource requests and limits no matter what. This is a good choice for mission-critical Pods.
- Burstable, which allows Pods to consume resources when they are available, but otherwise places restrictions on them. Use this class for Pods that are important but not the most important.
- BestEffort, which gives Pods access to resources only when they're not being consumed by workloads with higher-priority QoS classes. This is a good setting for Pods that you can afford to have crash.
QoS classes won't necessarily protect against CPU throttling. A workload in the Guaranteed class could still be throttled. However, they are another way of helping to distribute CPU efficiently and based on workload priority, reducing the risk of throttling.
Use autoscaling
Kubernetes supports autoscaling features, which can automatically reconfigure workloads based on resource consumption patterns and requirements. There are two types of autoscalers:
- HorizontalPodAutoscaler: This autoscaler, which is built into Kubernetes, can add workload replicas in response to increases in demand.
- Vertical Pod autoscalers: This type of autoscaler can automatically change CPU and memory resources assignments for workloads. There is no vertical Pod autoscaler built into Kubernetes itself, but most cloud-based Kubernetes distributions (like Amazon Elastic Kubernetes Service) offer optional vertical autoscalers.
Like QoS classes, autoscaling won't guarantee that CPU throttling never happens. But it can help to balance demand and prevent throttling incidents. For example, by spreading replicas of a Pod across multiple nodes to balance load, horizontal autoscaling can help prevent a single Pod instance from maxing out its node's CPU. Vertical autoscaling can add more total CPU before CPU becomes exhausted.
Managing Kubernetes CPU throttling with groundcovergroundcover helps you gain the critical insights you need to detect and mitigate CPU throttling issues in Kubernetes. By comprehensively tracking workload performance and resource utilization, groundcover alerts you to anomalies that could be a sign of throttling risks.

And when you do discover an issue, groundcover helps you drill down into the issue to determine whether it's a problem with your container or Pod configuration, node CPU availability, requests or limits, or something else.
Putting CPU throttling in the rearview mirror
In a perfect world – or at least a perfect Kubernetes cluster – CPU throttling would never happen. But it can happen if you don't set the right CPU limits and requests, or if you lack continuous visibility into CPU utilization and throttling events. Avoid these risks by making strategic choices about CPU management in Kubernetes, as well as monitoring for CPU throttling on an ongoing basis.
Faqs
CPU is a compressible resource in Linux, so Kubernetes slows workloads through throttling instead of terminating them when limits are exceeded.
- CPU limits are enforced through the Linux CFS (Completely Fair Scheduler), which pauses container execution when it exceeds its quota.
- Memory is not compressible, so exceeding limits leads to OOMKilled events.
- Throttling allows containers to continue running, but latency and request times increase significantly.
- This is why CPU misconfiguration often appears as performance degradation rather than an obvious failure.
Explore Kubernetes performance concepts.
CPU throttling usually appears as unexplained latency spikes even when overall CPU utilization appears moderate.
- Monitor container_cpu_cfs_throttled_seconds_total or container_cpu_cfs_throttled_periods_total metrics.
- Compare CPU usage vs CPU limits—containers often throttle even at 40–60% node CPU.
- Watch for request latency increases during peak traffic.
- Inspect pod-level CPU limits relative to burst workloads.
Learn more about Kubernetes metrics and monitoring.
CPU limits enforce strict scheduling quotas per container, meaning throttling can occur even if unused CPU exists on the node.
- Linux CFS enforces quota-based time slices, not real-time CPU availability.
- If a container reaches its CPU limit during the scheduling period, it pauses until the next cycle.
- This can create artificial bottlenecks in high-throughput services.
- Many high-performance workloads avoid CPU limits and rely only on requests.
Learn more about Kubernetes resource management.
CPU limits should be removed for latency-sensitive services where throttling is more damaging than temporary CPU bursts.
- Common for API gateways, messaging systems, and low-latency services.
- Keep CPU requests to guarantee scheduling priority.
- Use node autoscaling to protect cluster capacity instead of strict limits.
- Combine with QoS tuning and workload isolation to avoid noisy neighbors.
Discover cluster resource scaling strategies.
Most observability stacks focus on application metrics and miss kernel-level scheduling behavior where throttling actually occurs.
- CPU throttling happens in Linux cgroups scheduling, not inside the application runtime.
- Standard APM instrumentation often reports application CPU usage but not throttling events.
- Without kernel telemetry, teams may misdiagnose throttling as application inefficiency or slow queries.
- Kernel-level visibility helps correlate container runtime behavior with infrastructure scheduling decisions.
Learn more about eBPF-based observability.
.png)
.png)
.jpg)


.svg)